

Before repairing Mercedes wood trim, assess damage and gather tools like utility knife, sandpaper, glue, clamps, and paint. Prepare by removing loose material, cleaning, sanding, and drying. Apply automotive filler, let dry, then lightly sand again. Use fine-grit sandpaper to match original texture and gloss.
Looking to revive your Mercedes’ interior? DIY minor wood trim repair is easier than you think. This guide breaks down the process into three simple steps: Assessing damage, gathering the right supplies, preparing the area, and applying filler for a seamless finish. By following these tips, you’ll learn how to restore your Mercedes’ exquisite wood trim, maintaining its luxury aesthetic without professional costs.
- Assessing Damage and Gathering Supplies
- Stripping and Preparing the Repair Area
- Applying Filler and Finishing Touches
Assessing Damage and Gathering Supplies

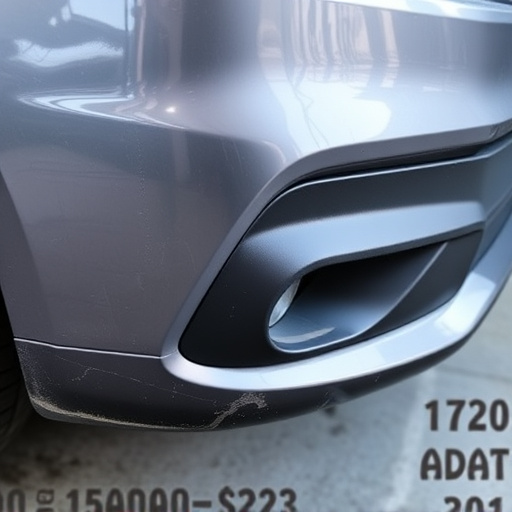
Before diving into the repair process, it’s crucial to assess the extent of the damage and gather all necessary supplies. Start by inspecting the wood trim for any cracks, chips, or peeling areas. Take note of their size and location, as this will determine the extent of the repair work required. Minor Mercedes wood trim damage might include small nicks or scratches, which can often be repaired with simple tools and materials. For more severe cases, such as significant splits or large gaps, you may need to replace entire sections of the trim.
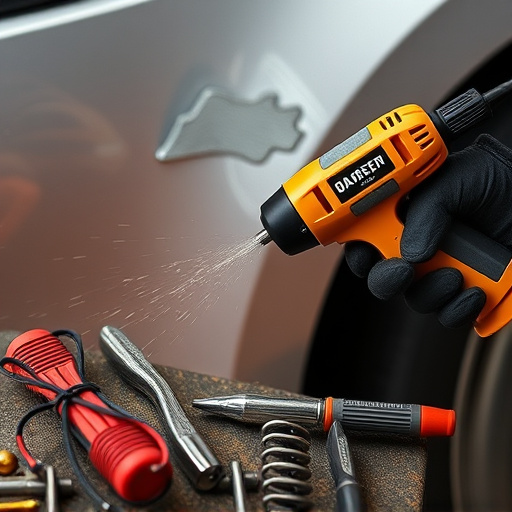
Gather your supplies accordingly. Basic tools like a utility knife, sandpaper (fine-grit), wood glue, clamps, and paint that matches your Mercedes’ color will be essential for most repairs. For more complex jobs, you might require additional items like putty knives, sanding blocks, or even a heat gun to reshape the trim before painting. Ensure you source these from reputable auto parts stores or consider consulting with a local Mercedes benz collision repair center for expert advice on the best materials for your specific needs.
Stripping and Preparing the Repair Area
Before beginning any Mercedes wood trim repair, preparing the damaged area is crucial. Start by carefully stripping away any loose or damaged material using a sharp utility knife and a scraper. Be gentle to avoid further damaging the surrounding intact wood. Once the loose debris is removed, thoroughly clean the surface with a mixture of water and mild detergent to ensure no dirt or grime remains. This step is essential as it creates a smooth base for your repair work and ensures better adhesion of any new materials.
Next, sand the area gently using fine-grit sandpaper to remove any rough edges or ridges. This process not only prepares the surface but also helps in reducing the risk of future damage. After sanding, wipe down the area with a damp cloth to lift any remaining dust particles. Allow it to dry completely before proceeding to the next stage of your Mercedes wood trim repair, ensuring a clean and ready workspace for precise auto body repairs. Remember, proper preparation is key to achieving long-lasting results, just like in car dent repair or car paint repair scenarios.
Applying Filler and Finishing Touches

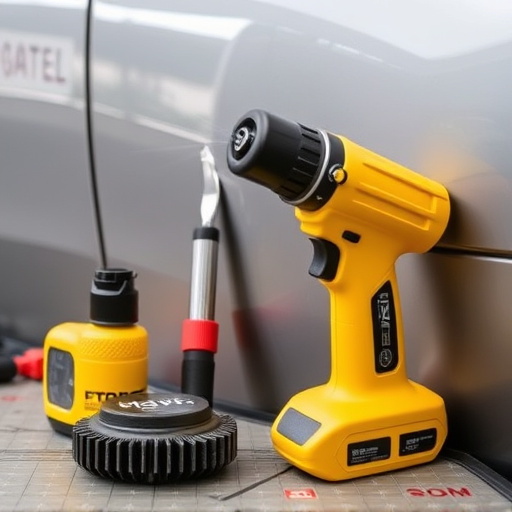
After sanding and preparing the damaged area, it’s time to apply filler to smooth out any imperfections in the Mercedes wood trim. Use a high-quality automotive filler designed for wood, following the manufacturer’s instructions for application. This step is crucial in ensuring an even finish that blends seamlessly with the surrounding trim. Once the filler is dry, lightly sand again to achieve a smooth surface.
For the finishing touches, opt for a fine-grit sandpaper and carefully buff the area until it matches the original gloss and texture of the wood trim. This meticulous process is key in achieving a professional Mercedes wood trim repair that’s virtually indistinguishable from the rest of the vehicle. Now, with your filler and finishes applied, you’re one step closer to restoring your car’s interior to its original glory, making it look as good as new – just like a top-notch auto body repair job.
Repairing minor damage to your Mercedes’ wood trim is a feasible DIY project that can significantly enhance the vehicle’s interior aesthetics. By following these straightforward steps, from assessing the damage to applying the finishing touches, you can efficiently tackle small repairs and maintain the luxury look of your car. Remember, proper preparation and the right tools are key to achieving professional-looking results in Mercedes wood trim repair.