

Mercedes wood trim enhances luxury models' interior elegance but is prone to cracking, warping, peeling, and fading due to material variations and environmental factors. Prompt identification of issues is crucial for effective repairs. Specialized services are recommended for hail damage, accidents, or rough handling. Before repairing, prepare with matching stain, wood filler, sandpaper, tools, gloves, and goggles. Follow a meticulous process: assess damage, clean, prepare with filler and primer, match paint to original color, and apply thin, even coats. For severe cases, consider professional Mercedes benz repair.
Before tackling Mercedes wood trim repair, understand the unique features and common issues afflicting these elegant interiors. This guide is your comprehensive resource, covering everything from identifying different types of Mercedes wood trim to navigating the preparation and tools needed for a successful restoration. By following our step-by-step approach, you’ll master the art of repairing and revitalizing your Mercedes’ woody charm.
- Understanding Mercedes Wood Trim: Types and Common Issues
- Preparation and Tools Required for Repair
- Step-by-Step Guide to Successful Mercedes Wood Trim Restoration
Understanding Mercedes Wood Trim: Types and Common Issues

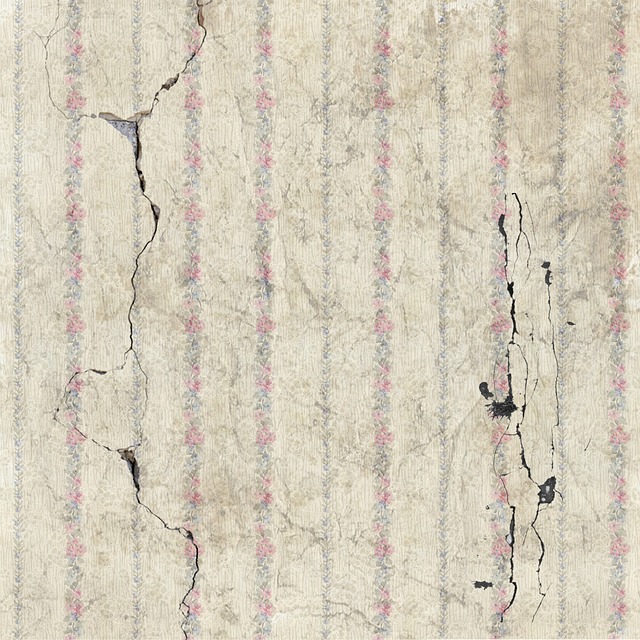
Mercedes wood trim is a distinctive feature found in many luxury models, adding elegance and sophistication to the interior. However, over time, it can develop issues that require expert attention. Understanding the different types of Mercedes wood trim and their common problems is the first step towards effective repair. The material used varies across models, ranging from genuine hardwood to high-quality veneers and laminates. Each type has its unique characteristics and potential issues. For instance, natural wood may show signs of cracking or warping due to changes in humidity, while veneers might peel or fade over time.
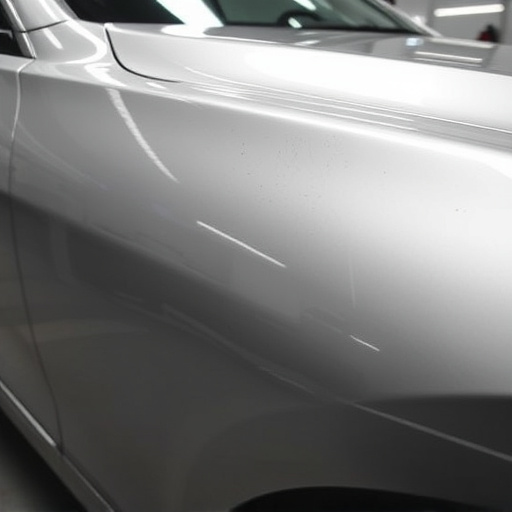
Identifying these problems early on is crucial for car repair services specializing in Mercedes wood trim repair. Hail damage repair, for example, can leave visible marring and dents that compromise the aesthetic appeal of the trim. Similarly, accidents or rough handling can cause severe damage, requiring a meticulous car body restoration process. By addressing these issues promptly, owners can maintain the vehicle’s value and ensure a luxurious experience without compromising on the interior’s beauty.
Preparation and Tools Required for Repair
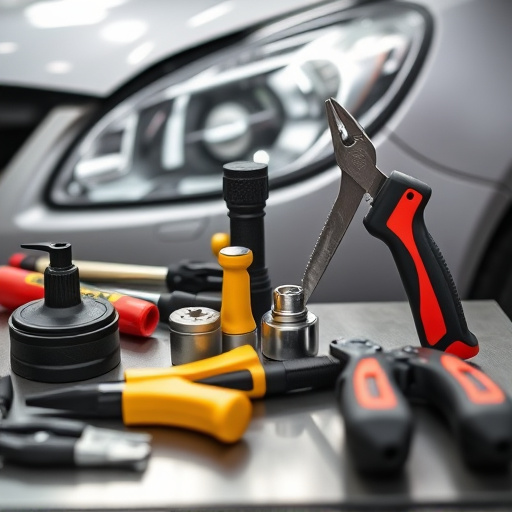
Before starting any Mercedes wood trim repair, proper preparation and a well-equipped toolkit are key to achieving a professional result. Begin by gathering all necessary materials, including wood filler, sandpaper (various grits), a fine-toothed comb or brush, and a wood stain or finish that matches your vehicle’s interior. Ensure you have the right tools like a putty knife for applying filler, a sander for smoothing, and cleaning brushes. Safety gear is also essential; wear gloves to protect your hands from chemicals and debris, and consider goggles to safeguard against flying particles.
Additionally, familiarize yourself with the repair process and any specific considerations for Mercedes models. Some vehicles may have unique wood trim designs or finishes that require specialized care. With the right preparation, tools, and a thorough understanding of the task at hand, you’ll be well on your way to successfully repairing and restoring your Mercedes’ wood trim, bringing it back to its original glory as if it were a vibrant vehicle restoration.
Step-by-Step Guide to Successful Mercedes Wood Trim Restoration

Restoring Mercedes wood trim is a meticulous process that requires patience and precision. Here’s a step-by-step guide to help ensure your success:
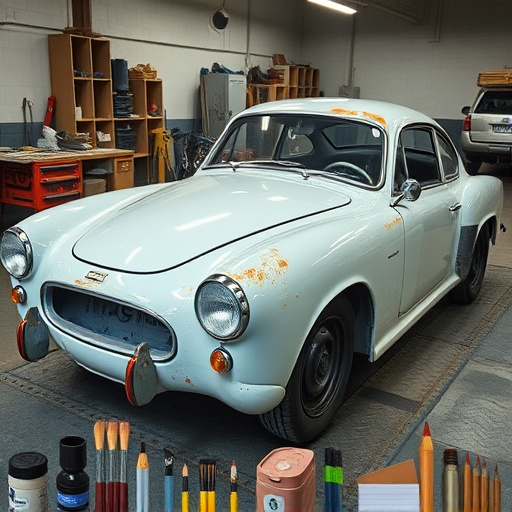
1. Assess the Damage: Carefully inspect the wood trim for cracks, chips, or blemishes caused by wear and tear, weather damage (like hail), or car dent removal. Identify areas needing repair for an accurate plan.
2. Prepare the Surface: Clean the damaged area thoroughly to remove dirt, dust, and debris. Use a soft cloth and mild detergent. Dry completely before proceeding. For severe cases of hail damage repair or car dent removal, consider professional Mercedes benz repair to ensure structural integrity.
3. Fill and Sand: Apply wood filler to cracks and chips, smoothing it into the surrounding surface. Let dry, then sand gently until smooth. This step ensures a seamless finish.
4. Apply Primer: Use a high-quality primer designed for wood to prepare the surface for paint. This creates a bonding layer, ensuring your final coat adheres well.
5. Paint with Care: Choose a paint that closely matches your Mercedes’ original wood trim color. Apply thin, even coats, allowing each layer to dry completely before adding the next. Patience is key for a professional finish.
Mercedes wood trim repair can transform your vehicle’s interior, addressing both aesthetic issues and functional problems. By understanding the different types of wood trim and common issues, you’ll be better equipped to prepare and undertake the repair process. With the right tools and a step-by-step approach, you can successfully restore your Mercedes’ wood trim, enhancing its beauty and value. Remember, taking care of these details not only improves the car’s look but also ensures it stands out in the bustling automotive landscape.