

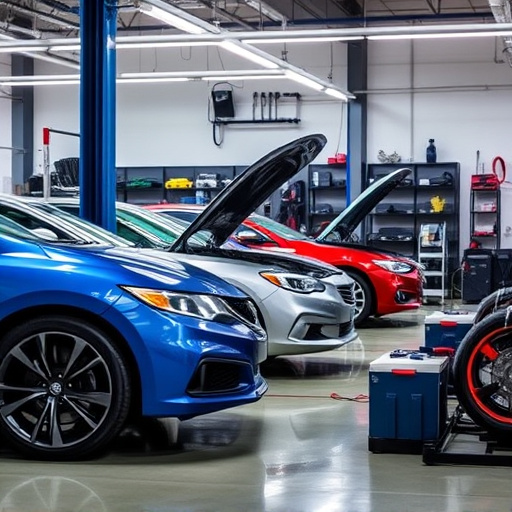


Mercedes wood trim repair involves a multi-step process. First, assess damage ranging from minor scratches to structural issues. For superficial issues, sanding and cleaning suffice; deeper problems may require auto frame repair. Comprehensive preparation is key for a high-quality finish. The reapplication process begins with cleaning, sanding, degreasing, drying, priming, and finally, matching the original finish for durability and aesthetics. Proper techniques guarantee professional, long-lasting Mercedes wood trim repair.
In the realm of Mercedes wood trim repair, reapplying finish is a crucial step towards restoring vehicles’ exquisite interiors to their former glory. This comprehensive guide delves into the process, offering a detailed look at understanding damage and preparation, followed by a step-by-step reapplication tutorial. Learn professional tips for achieving not just a flawless finish but also longevity, ensuring your repairs stand the test of time.
- Understanding Mercedes Wood Trim Damage and Preparation
- The Reapplication Process: Step-by-Step Guide
- Tips for Achieving a Professional Finish and Longevity
Understanding Mercedes Wood Trim Damage and Preparation
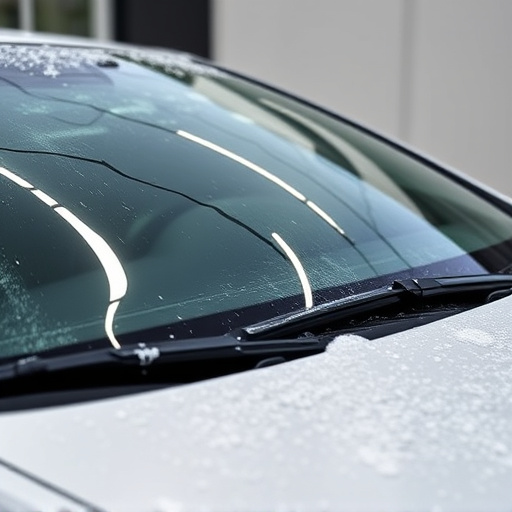
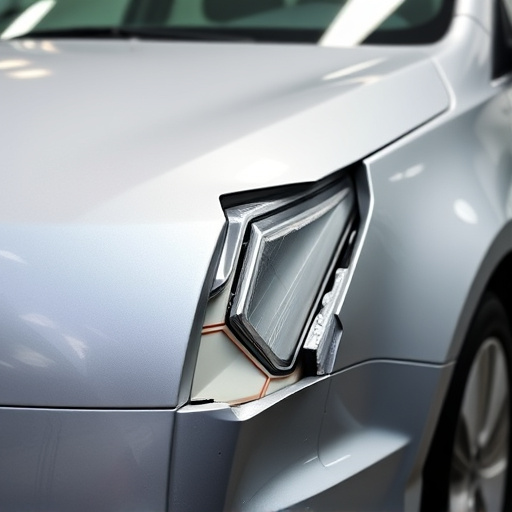
Mercedes wood trim damage can arise from various sources, including accidents, poor storage conditions, or normal wear and tear. Before reapplying finish in Mercedes wood trim repair jobs, it’s crucial to thoroughly understand and address the underlying issues. The first step involves assessing the extent of the damage, which could range from minor scratches and dents to more severe structural abnormalities. In cases where the damage is superficial, simple sanding and cleaning may suffice for preparation. However, deeper issues might require auto frame repair or collision repair techniques to ensure a seamless finish.
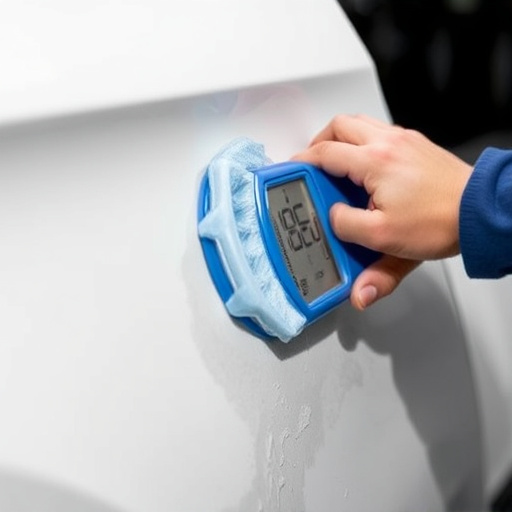
Preparation plays a vital role in achieving a high-quality outcome. For Mercedes wood trim repair, this involves meticulous sandbling to remove any rough edges or old finishes, followed by cleaning with a suitable cleaner to eliminate dust and debris. In some cases, additional steps like filling in gaps or repairing broken components may be necessary. This comprehensive preparation not only ensures the new finish adheres properly but also enhances its longevity, making it an essential step in the Mercedes wood trim repair process.
The Reapplication Process: Step-by-Step Guide
The reapplication process for finish in Mercedes wood trim repair jobs involves several precise steps to ensure a seamless and professional result. Begin by thoroughly cleaning the damaged area using specialized cleaners designed for wood and automotive finishes. This step is crucial as it prepares the surface, removing any grease, dust, or debris that could hinder adhesion.
Next, lightly sand the area with fine-grit sandpaper to create a slightly rough texture. This process aids in better paint absorption and creates an even base. After sanding, use a degreaser to remove any remaining oil or residue. Once the surface is dry, apply a thin layer of high-quality primer specifically formulated for wood trim repair. Allow it to dry completely before moving on to the final step: applying the new finish, whether it’s a paint or a specialized wood restoration product. This meticulous approach ensures that your Mercedes wood trim repair not only looks good but also stands the test of time, rivaling the quality of the original craftsmanship.
Tips for Achieving a Professional Finish and Longevity
When reapplying finish to Mercedes wood trim after a repair, achieving a professional and long-lasting result requires attention to detail and the right techniques. First, ensure proper preparation of the surface by sanding down any rough patches or remaining debris. This step is crucial for a seamless blend with the existing trim. Using fine-grit sandpaper will help create a smooth canvas for your finish.
After cleaning the area to remove dust and debris, applying a high-quality wood filler can help conceal any imperfections. Let it dry completely before sanding again to ensure a smooth surface. Once prepared, priming the wood is essential. A good primer acts as a bridge between the repair and the final finish, ensuring even coverage and longevity. Finally, choose a finish that matches the original Mercedes wood trim—a high-gloss polyurethan or urethane can provide a durable, professional-looking sheen that protects against scratches and fading.
In the realm of Mercedes wood trim repair, reapplying finish is a crucial step towards achieving both aesthetic perfection and longevity. By understanding the damage, preparing the surface meticulously, and following a structured guide, professionals can restore the original beauty of these fine automotive interiors. With the right techniques and materials, as outlined in this article, mastering Mercedes wood trim repair becomes feasible, ensuring a professional finish that stands the test of time.