


Mercedes wood trim repair involves assessing damage from accidents or weather, refinishing light scratches or replacing severe detachment. Professional restoration in specialized shops is recommended for accurate results and long-lasting protection. Replacing trim requires precise craftsmanship, proper tools, high-quality parts, and a detailed guide for DIY repairs, offering an effective cost-saving alternative for older models.
Can you replace Mercedes wood trim instead of repairing it? For many car owners, the answer is a game-changer. While traditional repair methods involve intricate processes and specialized skills, replacing the trim offers a simpler, more cost-effective alternative. This comprehensive guide delves into understanding common Mercedes wood trim damage, outlining the necessary tools and materials for a successful replacement, and providing a step-by-step process to ensure a seamless swap, saving you time and money in the long run.
- Understanding Mercedes Wood Trim Damage
- Tools and Materials for Replacement
- Step-by-Step Guide to Swapping Out Trim
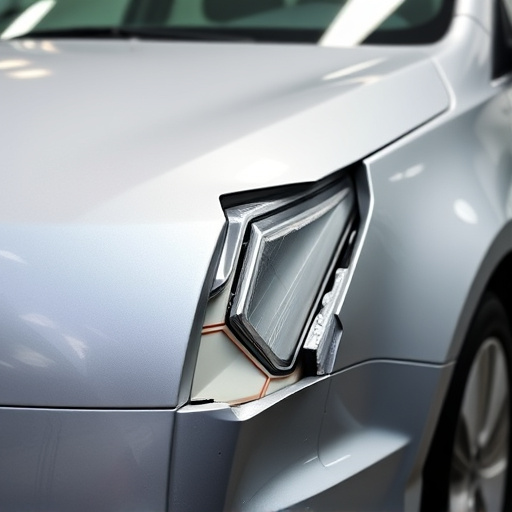
Understanding Mercedes Wood Trim Damage
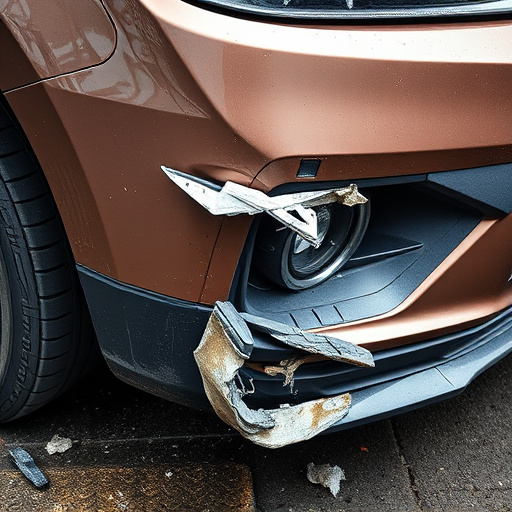
Mercedes wood trim damage can range from minor scratches and nicks to significant chipping, cracking, or complete detachment. This type of damage is often caused by accidental bumps, spills, or exposure to harsh weather conditions. The beauty of Mercedes wood trim lies in its intricate craftsmanship and natural grain patterns, making repairs both aesthetically challenging and crucial for maintaining the car’s luxury aesthetic.
Identifying the extent of the damage is the first step. Minor issues might only require refinishing or touch-up work, while more severe cases may necessitate complete replacement. Unlike some automotive repair services, Mercedes wood trim restoration is a specialized task best left to experienced car repair shops equipped with the right tools and materials. Choosing the correct products ensures not just visual accuracy but also long-lasting protection for the vehicle’s interior.
Tools and Materials for Replacement

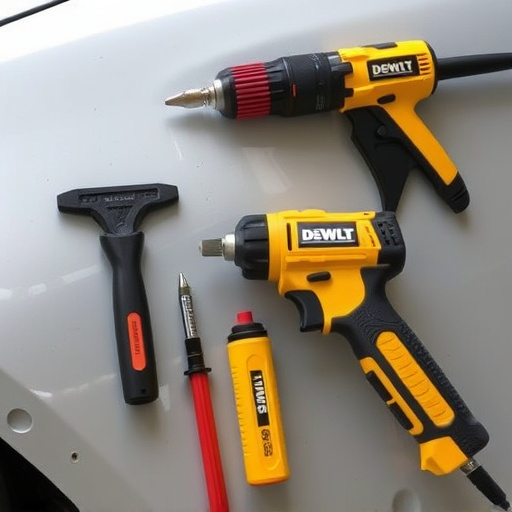
When it comes to replacing Mercedes wood trim, the right tools and materials are essential for a successful and long-lasting result, especially in the case of classic car restoration. For this task, you’ll need a variety of specialized items designed for precise craftsmanship. Start with gathering high-quality replacement parts specifically made for your Mercedes model. These can be sourced from reputable automotive suppliers or dealerships. Ensure the pieces are an exact fit to match the original wood trim in terms of shape, size, and color, especially for those intricate designs found in Mercedes Benz collision repair work.
In addition to the replacements, prepare a kit with essential tools such as a utility knife for trimming excess material, sandpaper for smoothing surfaces, and wood glue suitable for automotive applications. For detailed work, consider a fine-tool set including small screwdrivers and picks for navigating tight spaces. These tools will enable you to carefully remove the old trim, prepare the surface, and precisely apply the new pieces during the collision damage repair process.
Step-by-Step Guide to Swapping Out Trim

Replacing Mercedes wood trim is a great alternative to repair, especially for older vehicles where traditional methods might be cost-prohibitive. Here’s a step-by-step guide on how to swap out this trim effectively:
1. Preparation: Begin by gathering all necessary tools and materials, including replacement wood trim pieces that fit your Mercedes model perfectly. Ensure the new trim is in pristine condition. Clear the workspace of any debris or loose parts to create a safe environment for the procedure.
2. Removal: Next, carefully disassemble the damaged or old wood trim. This might involve detaching screws, releasing adhesive, or even removing panels (if applicable). Take note of how each piece is attached and in what order they were removed for easier reassembly later. Pay close attention to detail during this process, as it’s crucial for a seamless fit.
3. Installation: With the old trim out of the way, prepare the surface by cleaning and decontaminating it. Apply fresh adhesive or sealant if required, following the manufacturer’s instructions. Position the new wood trim pieces accurately, ensuring they align perfectly with your Mercedes’ interior design. Secure them in place using appropriate fasteners until the adhesive sets.
4. Finishing Touches: Once the adhesive is dry, carefully inspect the work for any gaps or misalignments. Fill these areas with a suitable wood putty or filler to match the original trim’s texture and appearance. After sanding, reapply any finishing coats or stains recommended by Mercedes or your chosen supplier.
While Mercedes wood trim repair might seem daunting, replacing damaged pieces is a feasible DIY option. With the right tools, materials, and a thorough understanding of the process, you can effectively swap out damaged trim, restoring your Mercedes to its former elegance. This guide provides a straightforward step-by-step approach, empowering car enthusiasts to take on such repairs confidently, saving time and money in the process.